

Quick start
This guide takes you from an empty team to a bot that answers questions on your website. You’ll create a bot, choose what it knows, test it privately, and then publish it as a chat bubble.
Before you start
- A FluentChat account. Registration is by invitation only. If you don’t have an account yet, see Create your account below.
- Permission to create bots. The Owner, Team Admin, and Bot Admin roles can create bots. See Teams and members.
- Content for the bot to answer from, such as a public webpage. You’ll add it in Step 2 if your team’s Knowledge Base is empty.
- Access to your website’s HTML, or a WordPress site where you can install a plugin.
Step 1: Create a bot
-
Open your bots. In the left sidebar, click ChatBots.
-
Start a new bot. Click Create New Chatbot.
-
Name it. Enter a Name, such as “Acme Support”, and click Create Bot.
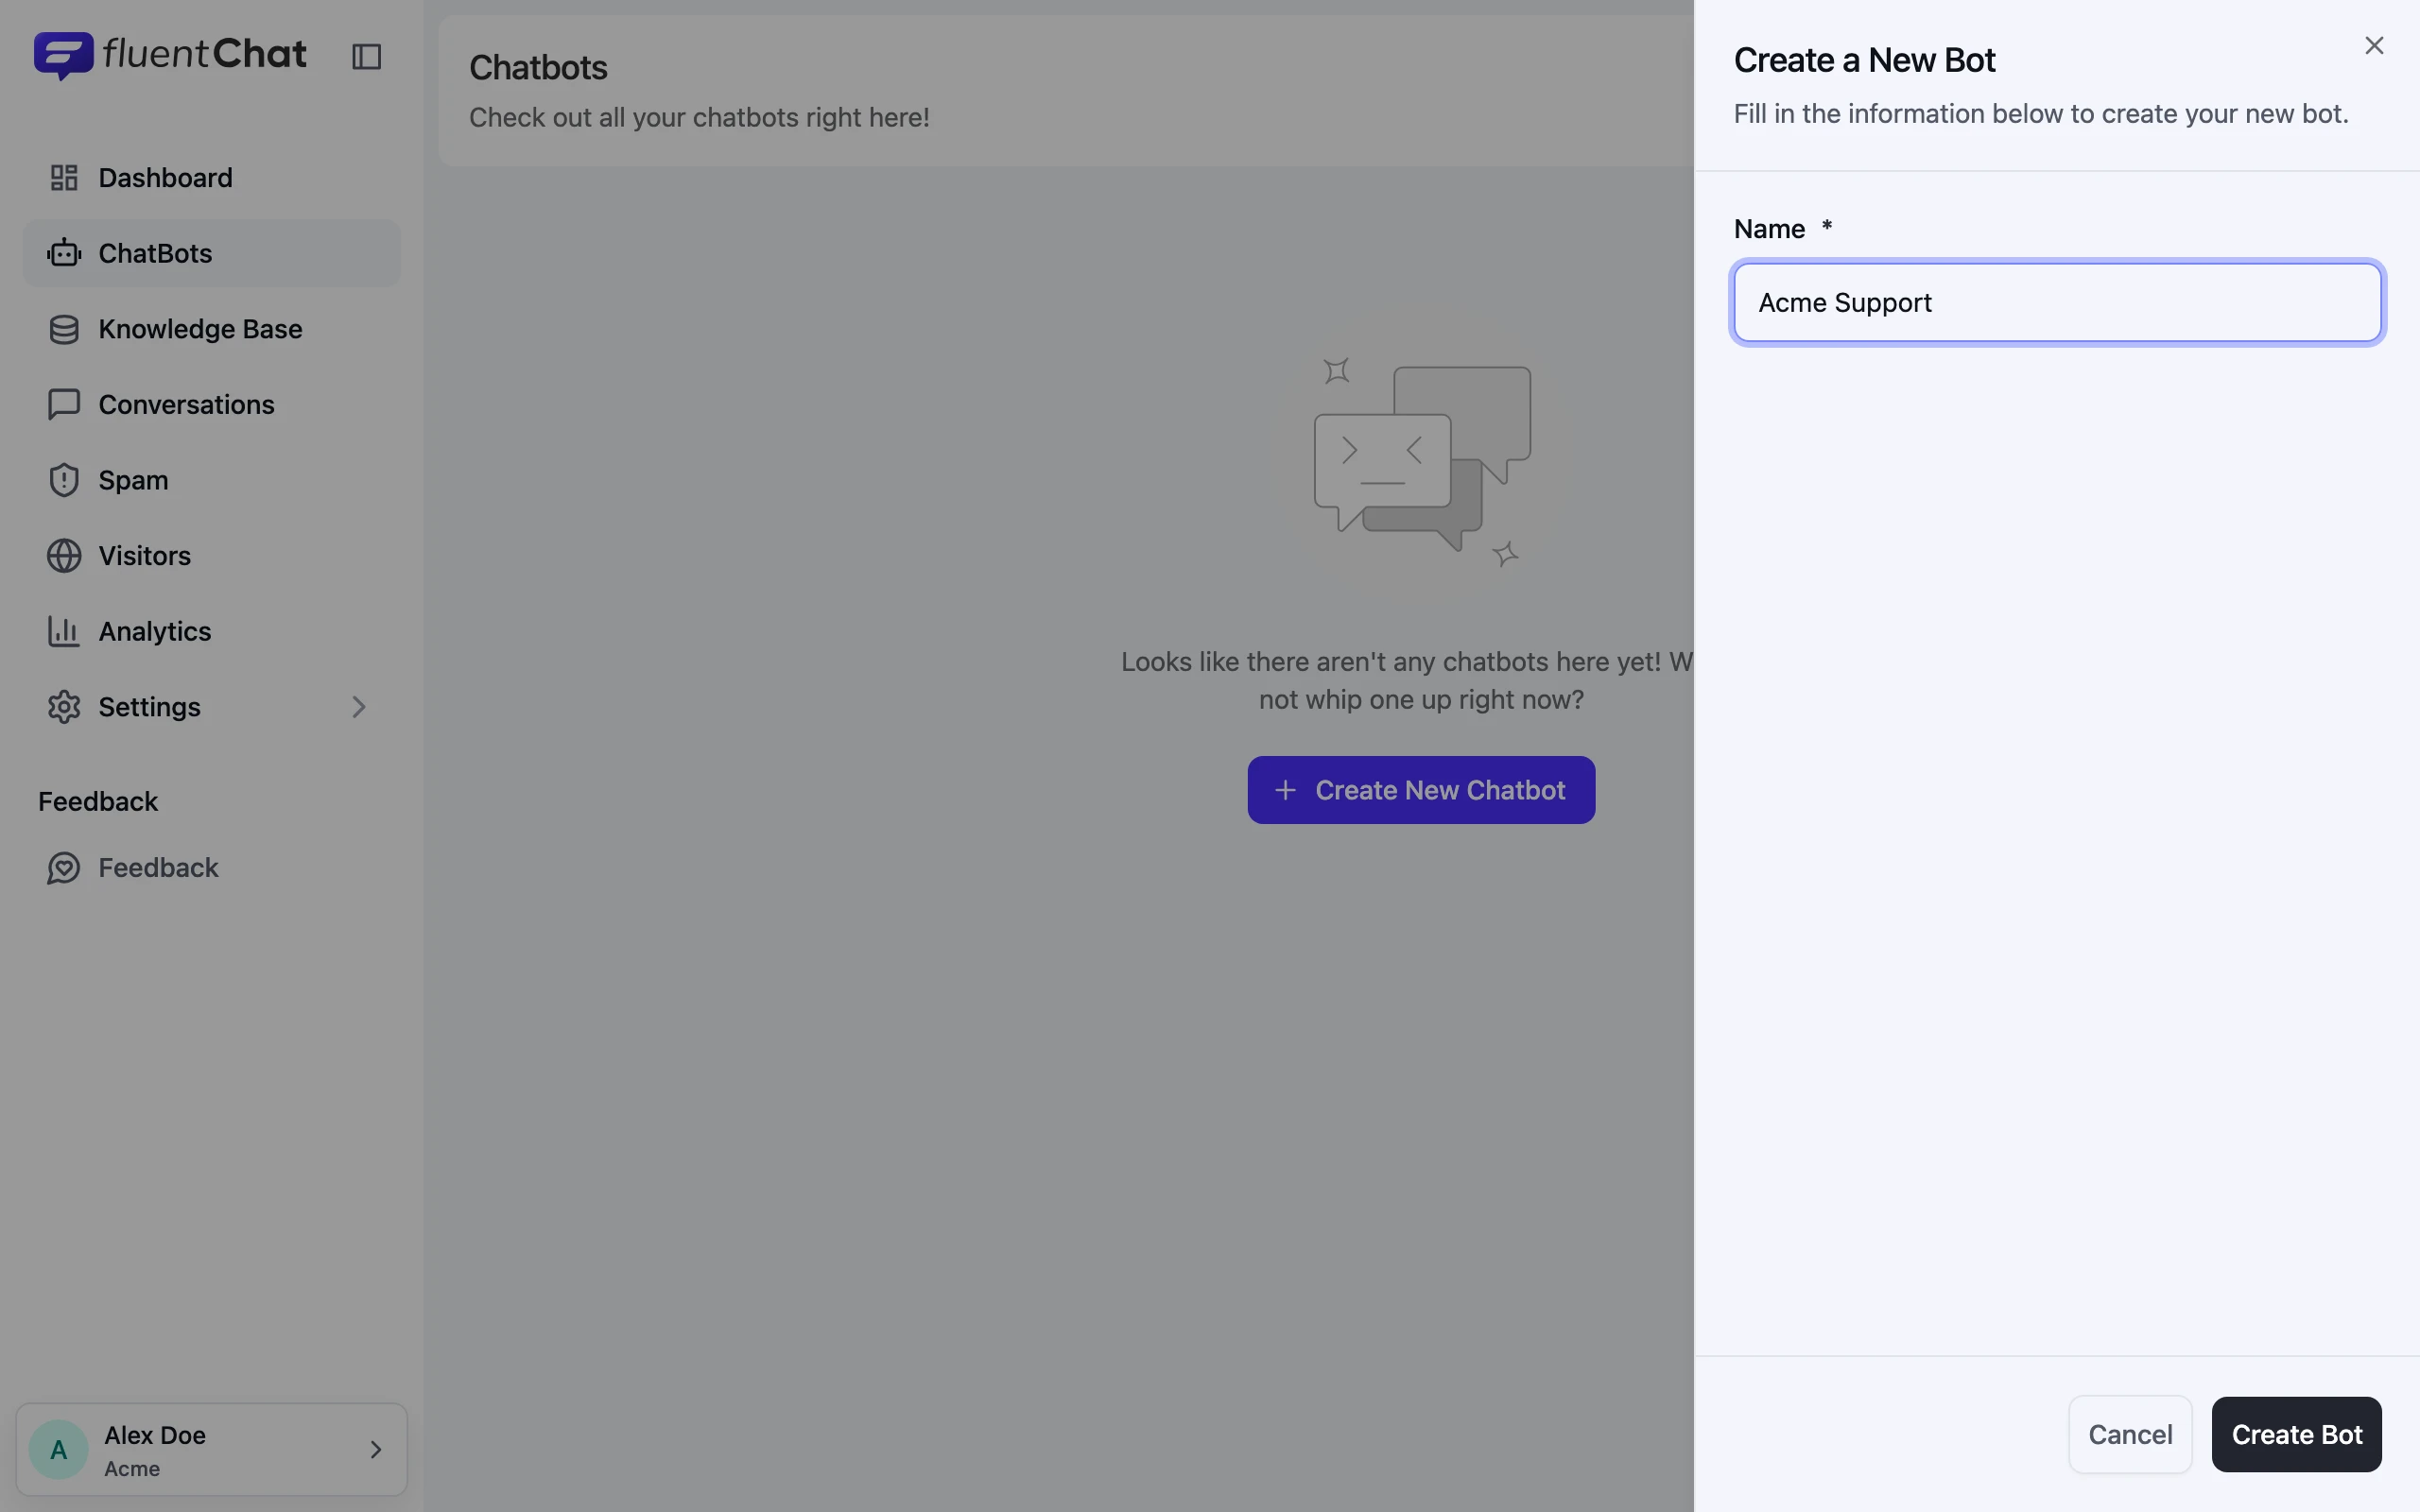
FluentChat opens the new bot’s Dashboard. The bot doesn’t know anything yet: a new bot starts with no sources selected. For more about bots, including renaming and deleting them, see Create a bot.
Step 2: Give your bot knowledge
Bots answer from sources in your team’s Knowledge Base. Each bot decides which of those sources it can use. A new bot starts with nothing selected.
Add your first source
If your team has no sources yet, add one from the bot itself. This example adds a single webpage, such as your FAQ or pricing page.
-
Open the bot’s knowledge. In the bot’s sidebar, click Knowledge.
-
Add a webpage. Click Add source, choose Website Links, then URL. Enter the page address in Source URL and click Add source. You can leave Source title empty and Scheduled refresh set to Never for now.
-
Wait for it to be indexed. The source’s status moves through Queued, Scraping, and Indexing to Indexed. Processing continues in the background, so you can leave the page.
-
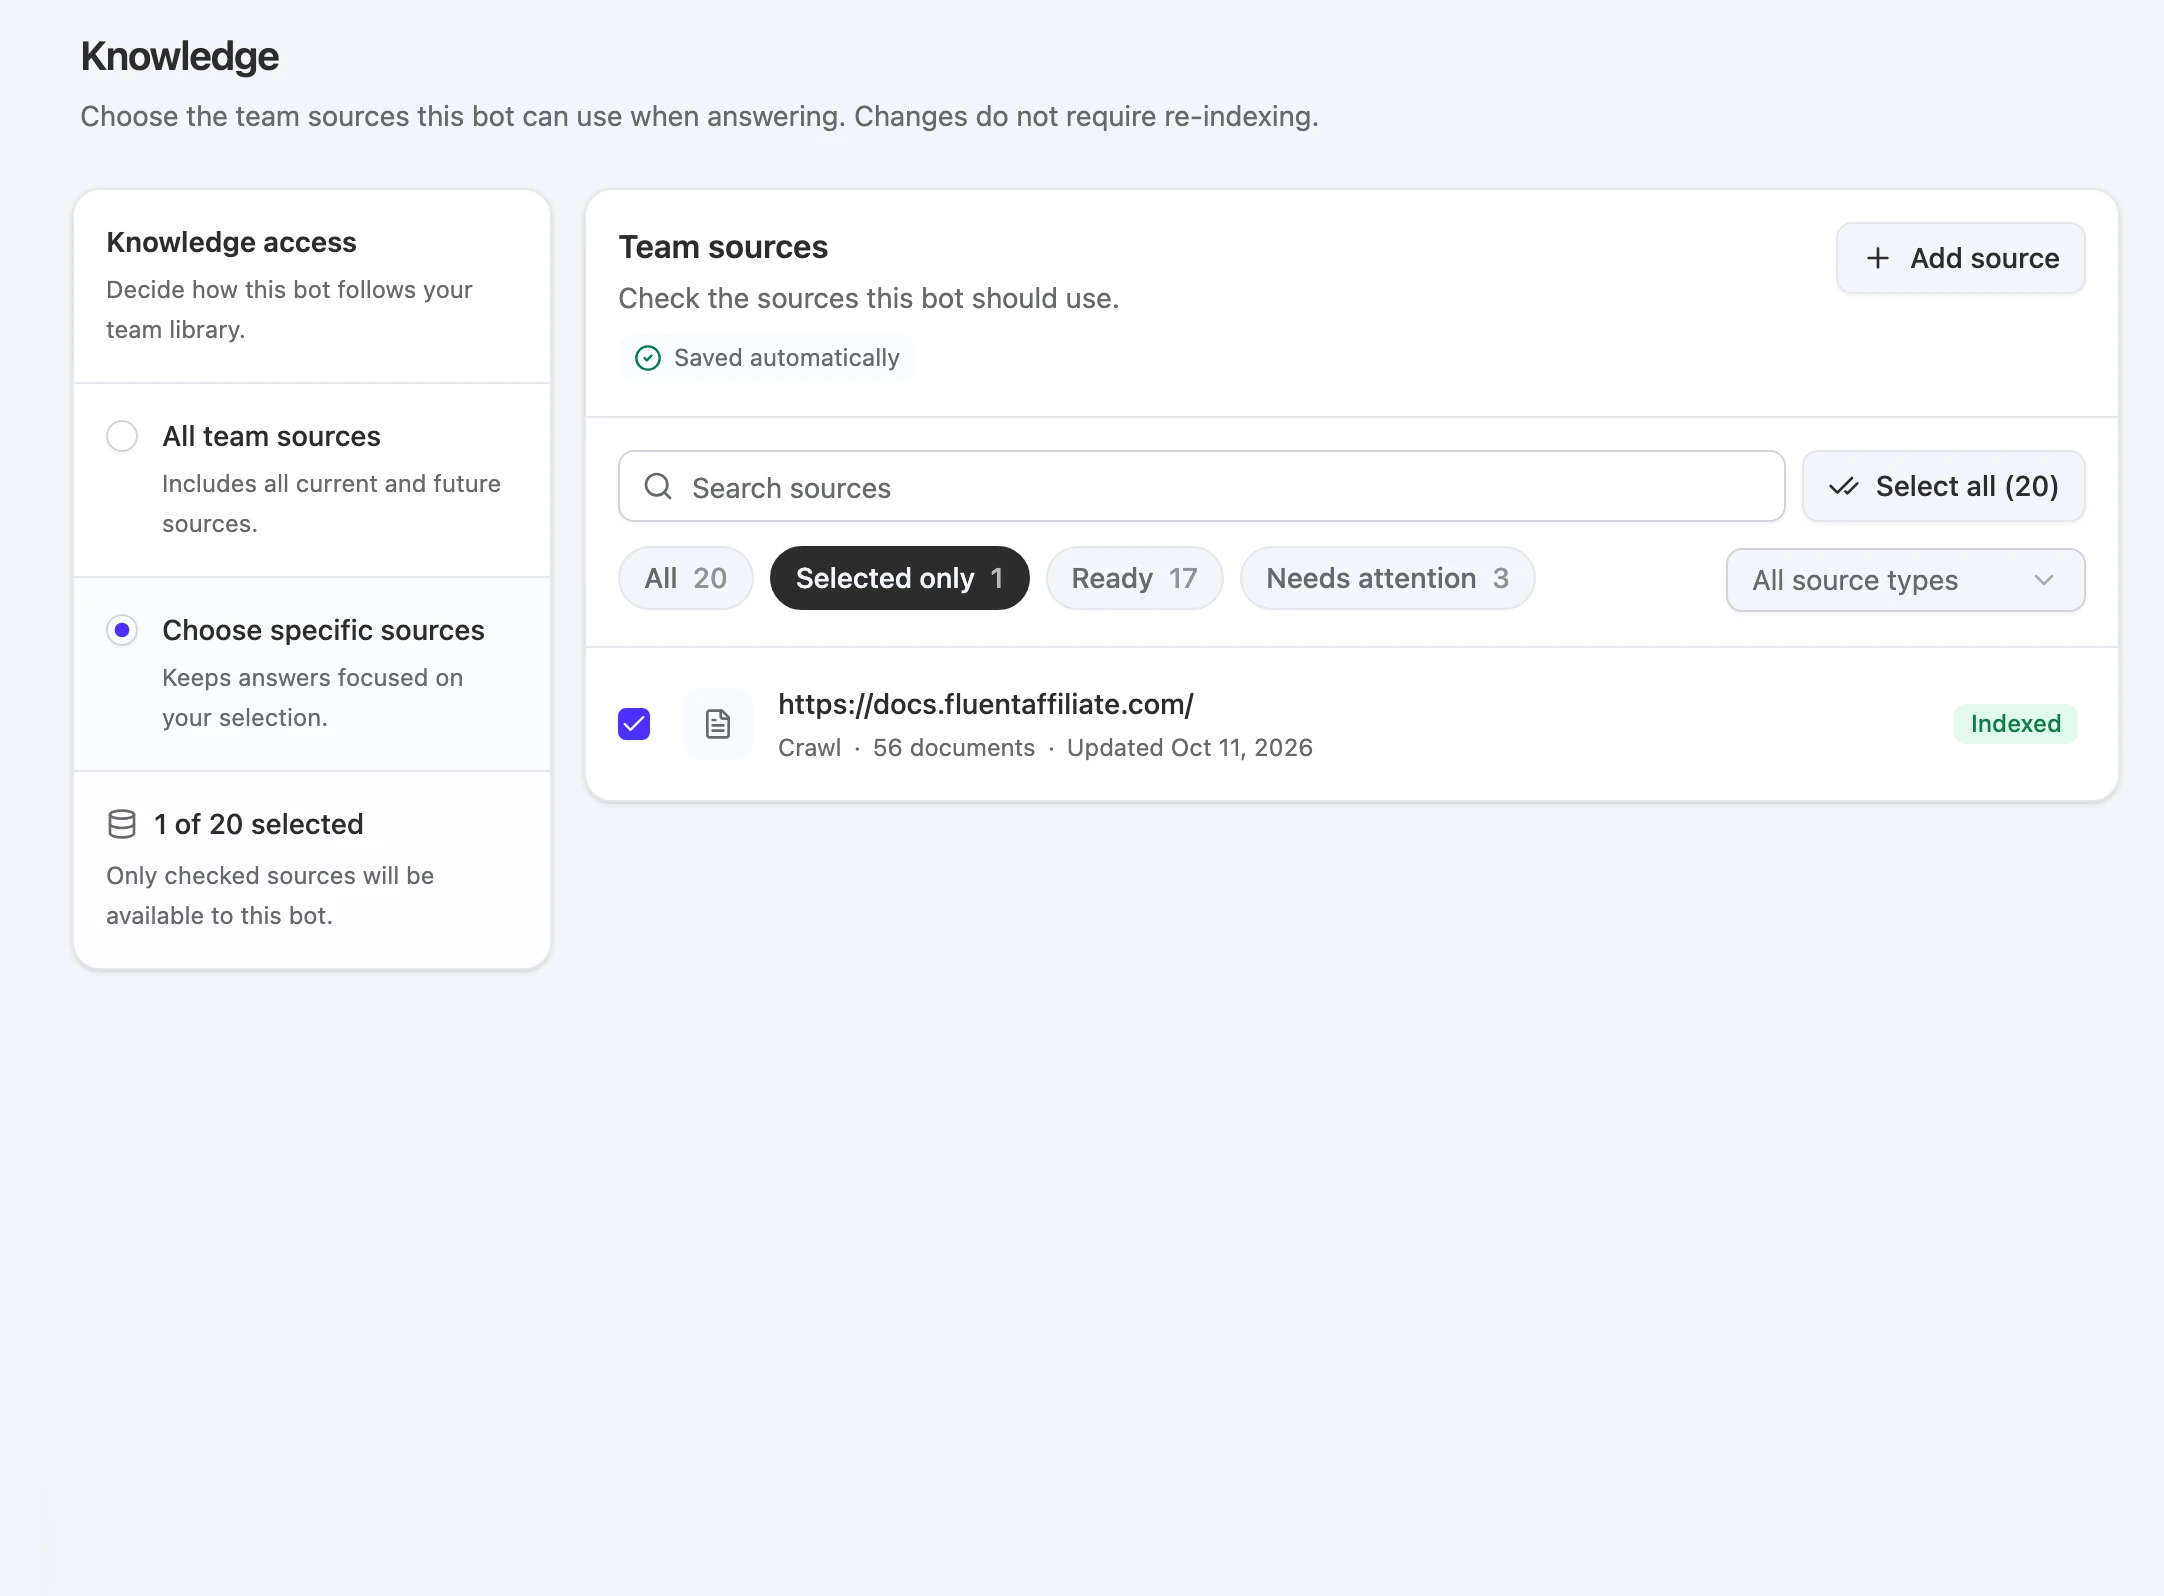
Check it’s selected. A source you add here is checked for this bot automatically. The summary under Knowledge access reads “1 of 1 selected”, and the list shows Saved automatically.
To add a whole site, a sitemap, or files instead, see Source types.
Or choose existing sources
If your team already has sources, pick the ones this bot should use.
-
Pick an access mode. Under Knowledge access, choose one:
- All team sources includes every current source and any you add later.
- Choose specific sources limits the bot to the sources you check.
-
Select sources. If you chose specific sources, click All to see every team source, then check the ones this bot should use.
-
Let it save. Your choice saves automatically. Look for Saved automatically at the top of the list.
Step 3: Test in the Playground
The Playground is a private chat for checking answers before anyone else sees them.
-
Open the Playground. In the bot’s sidebar, click Playground.
-
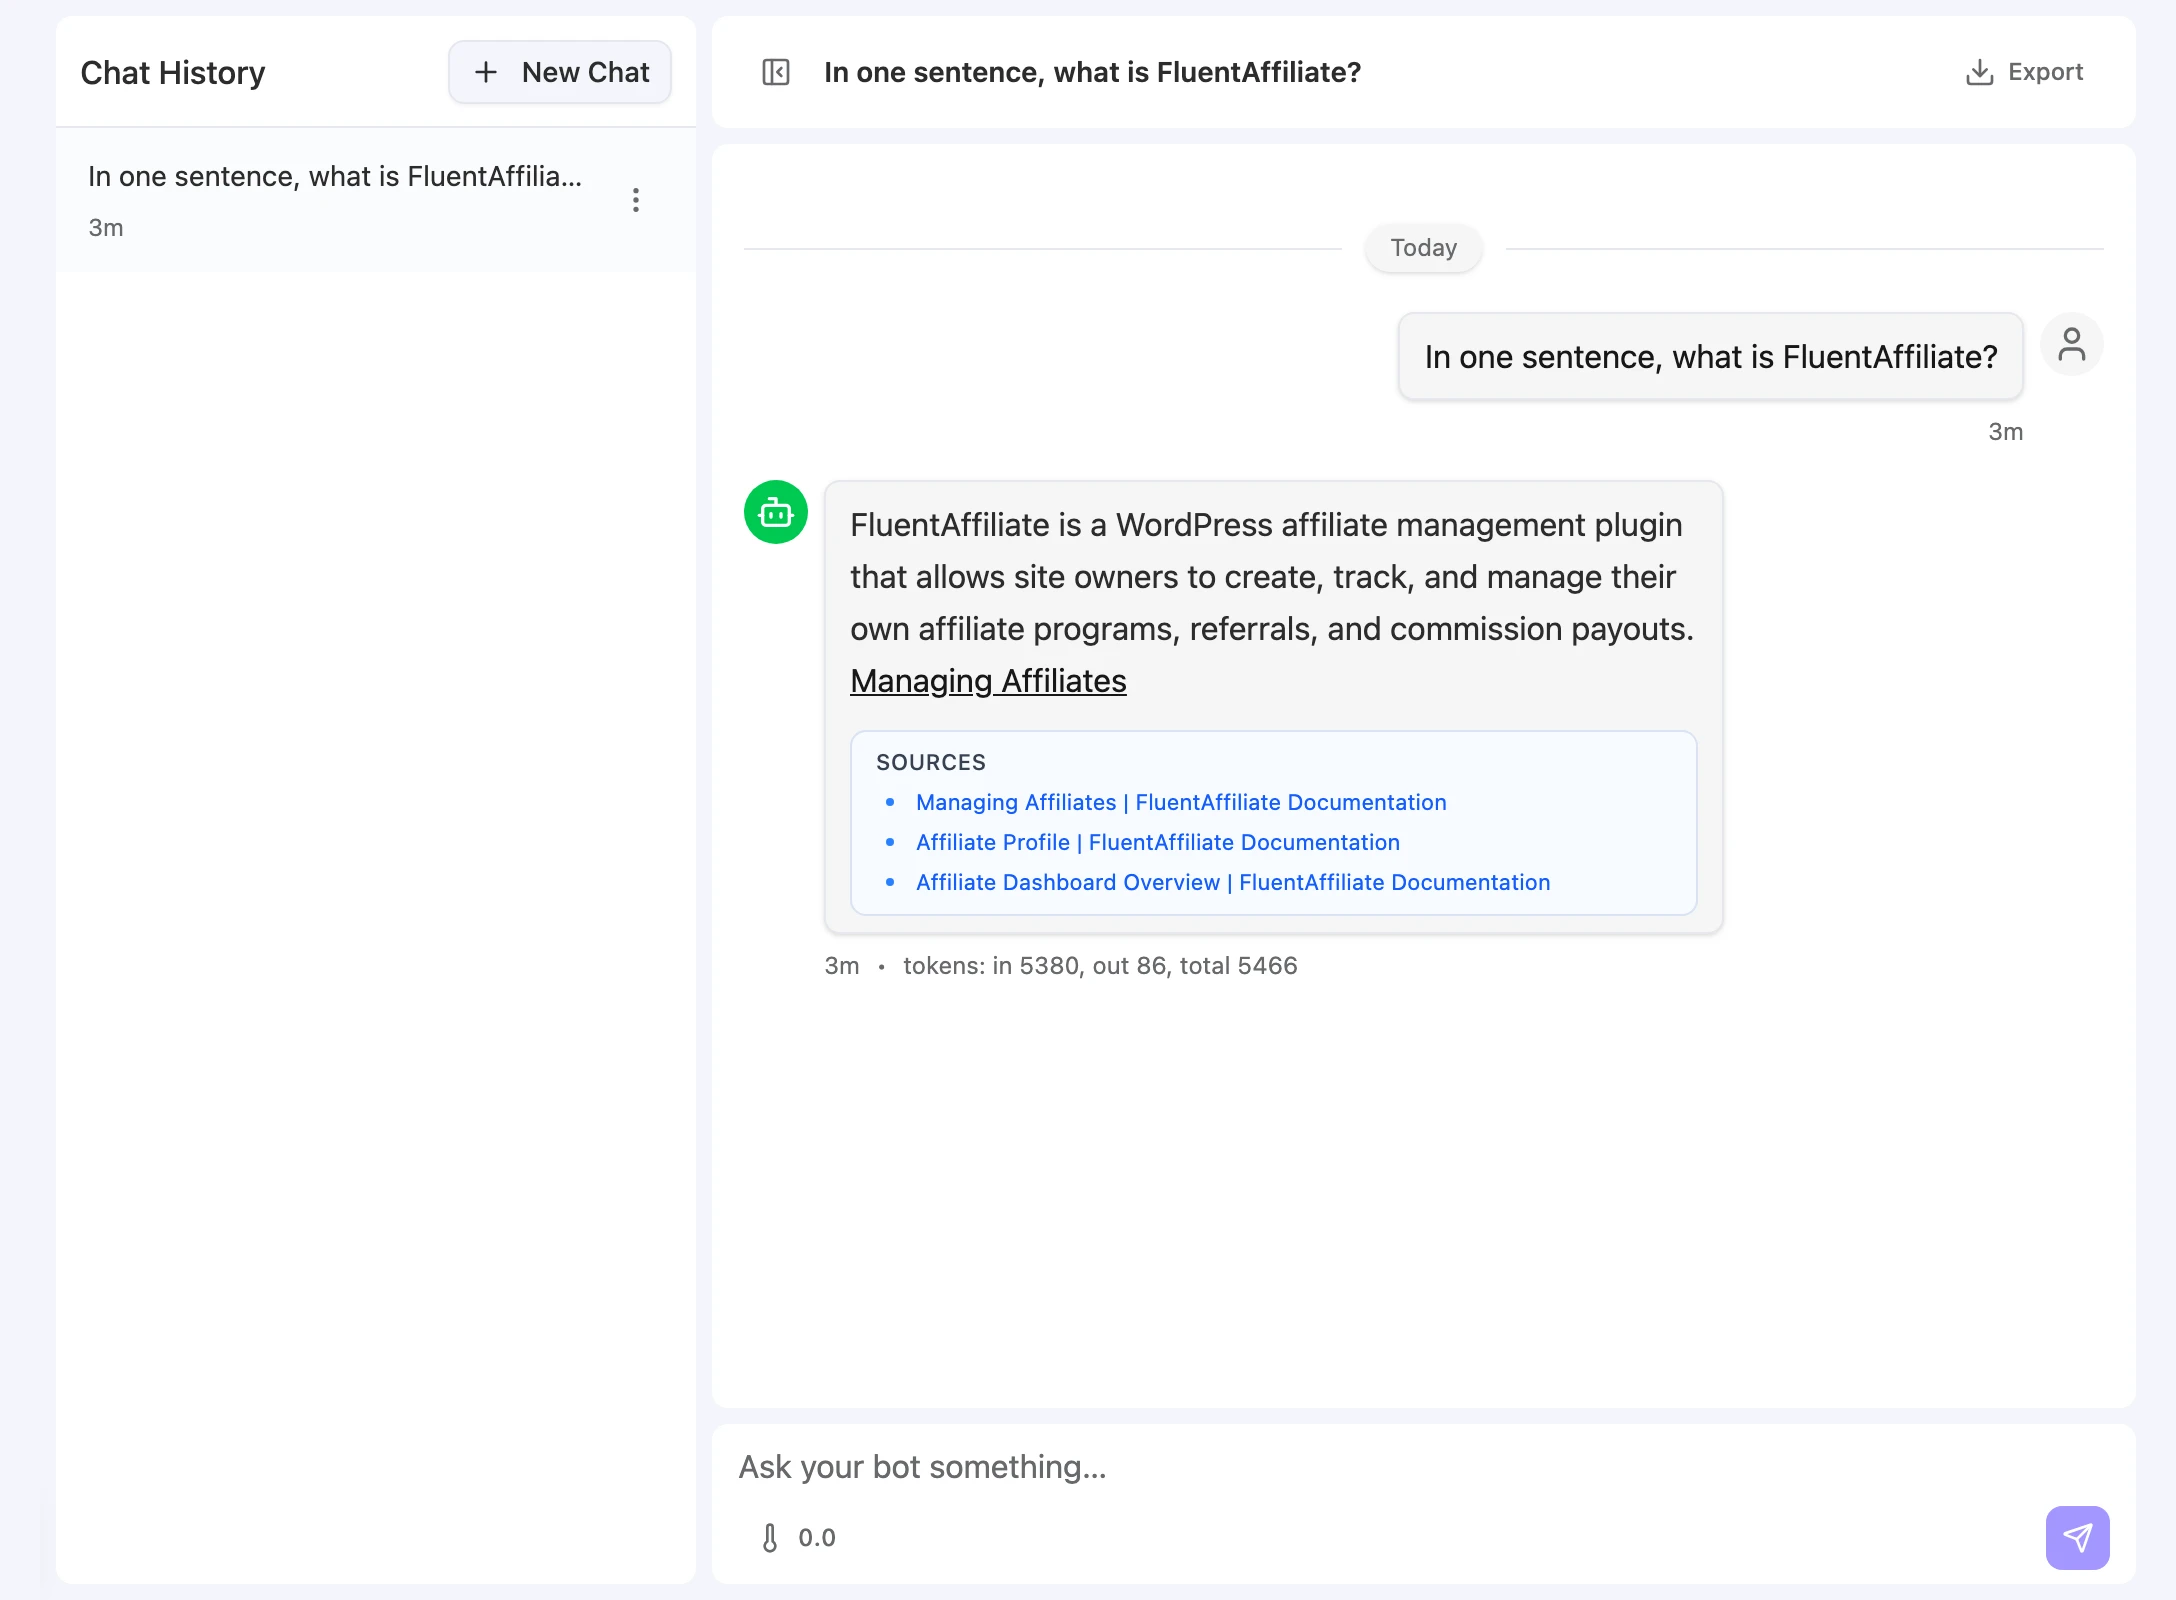
Ask a real question. Type a question your visitors would ask into Ask your bot something… and press Enter.
-
Check the answer. The reply links to the sources it used and lists them under Sources. Below each reply you’ll see the response time and token counts.
If an answer is wrong or missing, check that the right sources are selected and indexed, or adjust the bot’s instructions.
Step 4: Turn on the chat bubble
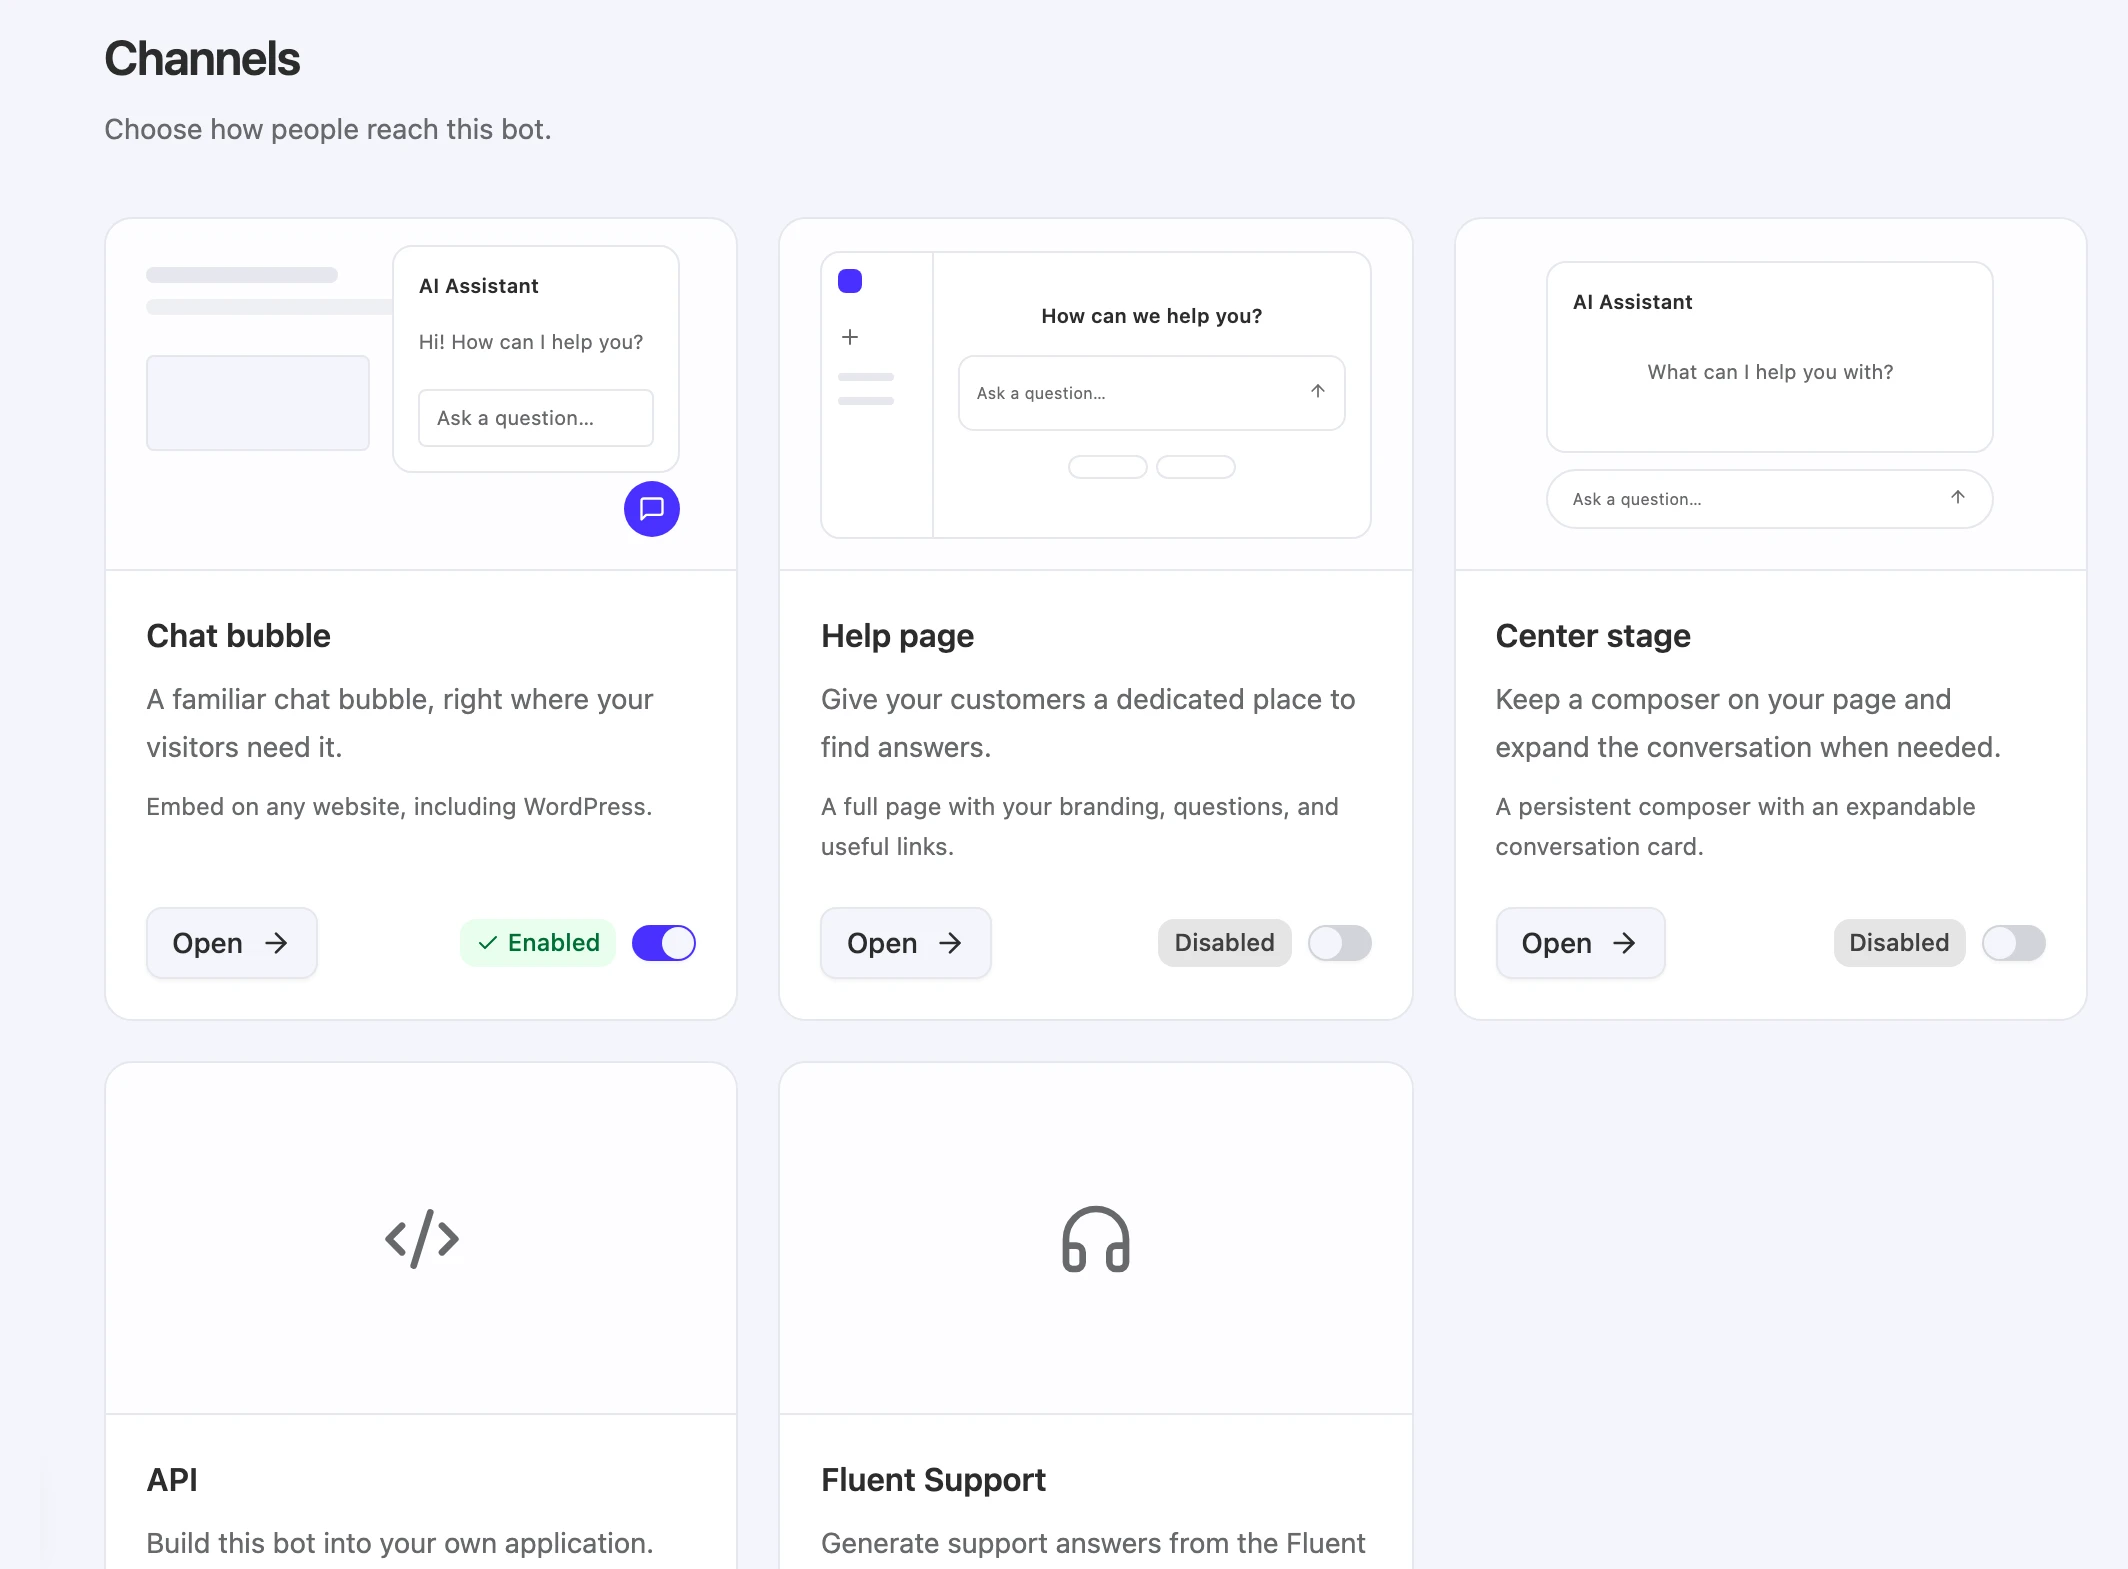
Every channel on a new bot starts as Disabled, so the widget won’t load on your site until you turn one on.
-
Open channels. In the bot’s sidebar, click Channels.
-
Enable the chat bubble. Turn on the Chat bubble switch. Its status changes to Enabled.
-
Adjust how it looks (optional). Click Open on Chat bubble to change the name, greeting, colors, and more. See Chat bubble.
Step 5: Add the bot to your website
-
Get the code. Open Channels > Chat bubble, click Add to website, and choose Website widget. You can also copy the same code from the bot’s Dashboard under Use on any other site.
-
Install it. Click Copy install code and paste the code into your site’s HTML before the closing
</body>tag. On WordPress, choose WordPress instead and follow WordPress integration. -
Publish your site change and open the page in a browser.
For more ways to install, such as an inline iframe, see Add chat to your website.
Create your account
If you were invited to FluentChat:
-
Open your invitation. Click the link in the invitation email.
-
Fill in the form. Enter your first name, last name, and a password. Passwords need at least 8 characters, with upper- and lowercase letters and at least one number.
-
Submit. Click Join (or Create Account). You land in your team’s workspace.
Already have an account? Sign in instead. The sign-in page notes that registration is by invitation only. If you weren’t invited, ask a team owner or admin to invite you.
Troubleshooting
The chat button doesn’t appear on my site
Possible cause: The Chat bubble channel is still Disabled, or the code isn’t on the published page.
Solution: Turn on Chat bubble in Channels, then check your page source for the FluentChat script before </body>.
The bot says it doesn’t know the answer
Possible cause: The bot has no sources selected, or its sources aren’t Indexed yet.
Solution: Open Knowledge, check the sources you need, and wait until they show Indexed. Then ask again in the Playground.
I can’t find Create New Chatbot
Possible cause: Your role can’t create bots.
Solution: Ask your team’s owner or an admin to create the bot or change your role.