

Profile and preferences
Your profile belongs to you, not to a team. The same name, photo, and password apply in every team you’re part of. Your live chat availability and notification settings are also personal.
Open the account menu at the bottom of the sidebar and select Profile & Settings. The Profile Settings page has Avatar, Profile Information, Change Password, and Delete Account sections. Availability and notifications are under Settings > Availability and Settings > Notification.
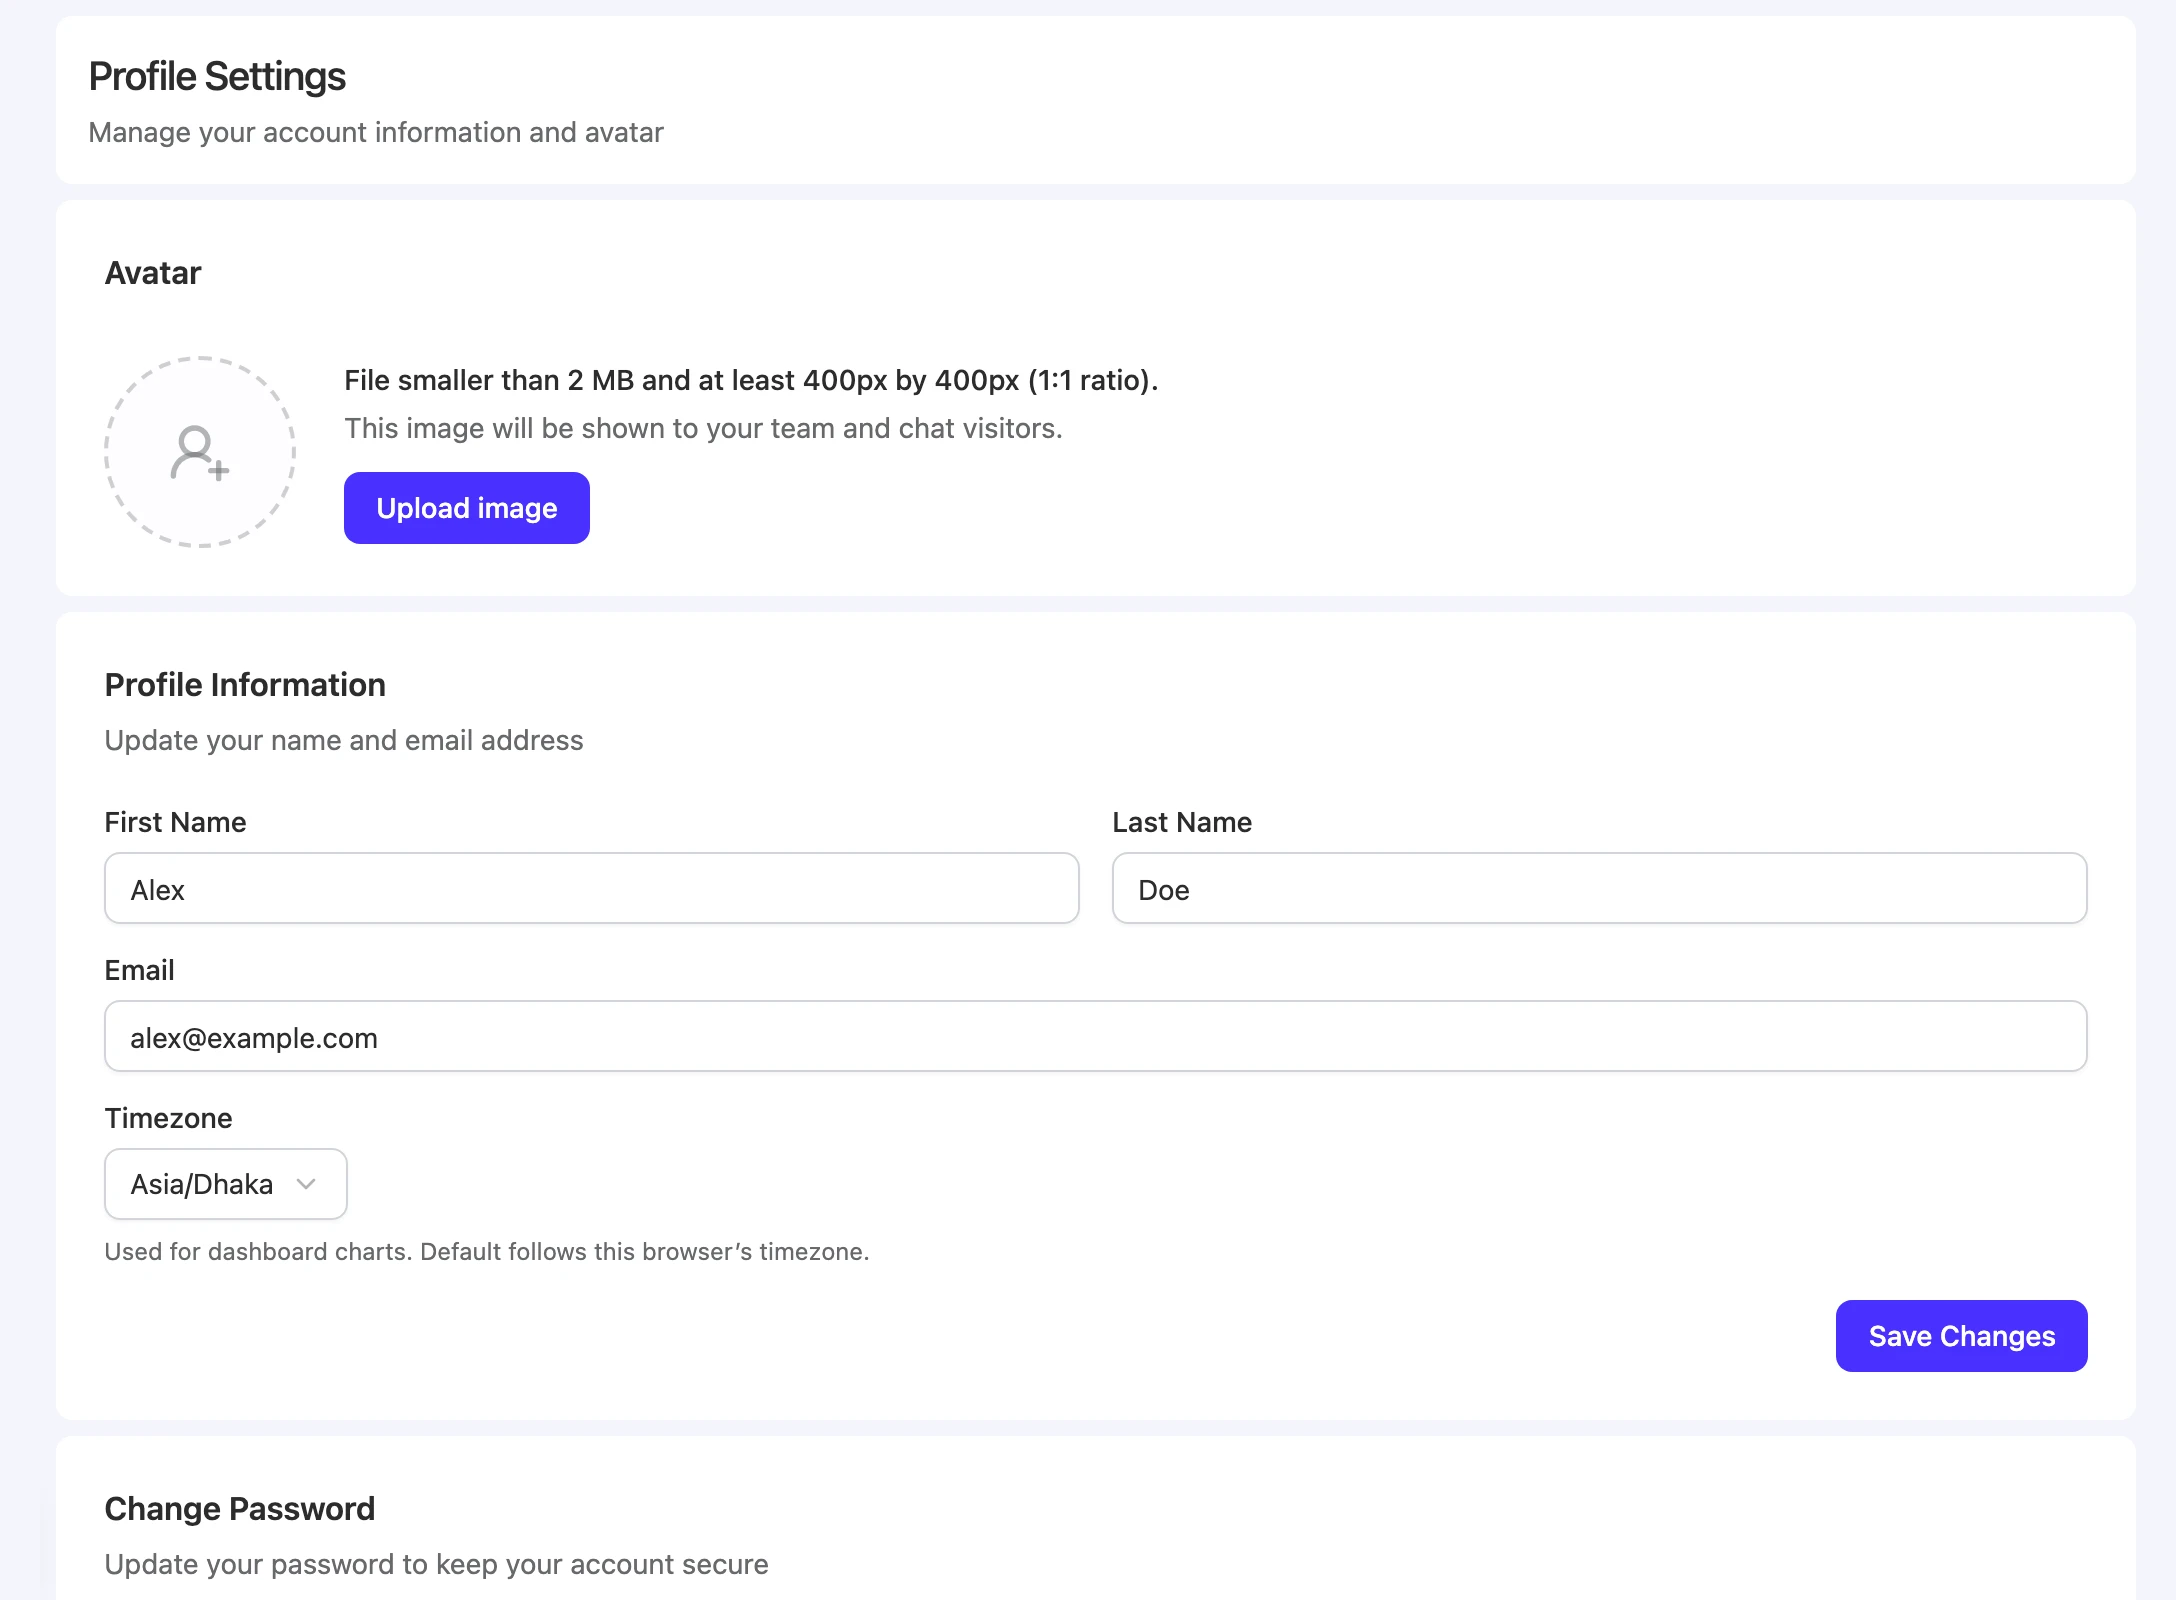
Update your profile
-
Upload a photo. Under Avatar, select Upload image. Use a file smaller than 2 MB and at least 400 by 400 pixels, square.
-
Edit your details. Under Profile Information, change First Name, Last Name, Email, or Timezone.
-
Save. Select Save Changes.
| Field | What it does |
|---|---|
| Avatar | Your photo. “This image will be shown to your team and chat visitors.” |
| First Name / Last Name | Your display name, up to 255 characters each. |
| Your sign-in email. Changing it needs confirmation. See Change your email. | |
| Timezone | ”Used for dashboard charts. Default follows this browser’s timezone.” |
Change your email
-
Enter the new address. Type it in Email and select Save Changes.
-
Confirm it. Open the verification email sent to the new address and follow the link.
Until you confirm, your old email stays active. The page shows “Verification email sent to” the new address. Select Resend verification email if it didn’t arrive, or cancel the change from the same notice.
Change your password
-
Enter your current password. Type it in Current Password.
-
Enter a new password. Fill in New Password and Confirm Password. Use at least 8 characters with uppercase and lowercase letters and a number.
-
Save. Select Change Password.
Availability
Settings > Availability controls whether visitors see you as available for live chat. Changes save automatically, and the page shows “You are currently seen as:” with Online, Away, or Offline.
| Setting | What it does |
|---|---|
| Force offline (invisible mode) | Shows you as offline until you turn it off, whatever your schedule or activity. The other switches are locked while it’s on. |
| Set me available when using the app | Counts you as available while you’re active in the dashboard. |
| Enable availability schedule | Sets the days and hours you’re available. Pick the Days, set Hours, and choose a Timezone. Select Add for more time ranges. |
The schedule uses the UTC offset you pick, with no daylight saving adjustment. When both the schedule and Set me available when using the app are on, you need to be inside your hours and active in the dashboard. See How your status is decided.
The chat widget shows your team as online if at least one agent for that bot is available. Outside your hours, visitors see you as away but can still send messages.
Notification
Settings > Notification controls alerts about new messages and handoffs. All roles can open it.
| Setting | What it does |
|---|---|
| Browser Permission | Shows whether your browser allows notifications. If it reads Blocked by browser, change it in your browser’s site settings. |
| Push Notifications | Select Enable Push Notifications to get alerts even when the tab is closed or the browser is in the background. Shown only in browsers that support it. |
| Notify me of messages when I am online | Alerts you while your status is Online or Busy. |
| Notify me of messages when I am offline | Alerts you while your status is Offline. |
| Test Notification | Select Send Test to show a test browser notification. |
If your role can reply in live chat, you’re alerted about a new handoff on bots you can access, about visitor messages in conversations assigned to you or not yet assigned, and when someone assigns you a conversation.
Delete your account
-
Start deletion. Under Delete Account, select Delete Account.
-
Confirm. Enter your password. Optionally add a Reason for leaving, up to 1,000 characters.
-
Schedule it. Select Schedule Deletion. You’re signed out.
Your access ends straight away. Your owned bots go offline and team members lose access to your teams. If a team you own has a paid subscription, billing continues during the seven days, and FluentChat cancels the subscription when the team is deleted. To stop it sooner, use Manage billing in Billing before scheduling deletion. Teams on the early-access Free plan have no subscription to cancel. If Manage billing says billing is unavailable during early access, contact FluentChat through Feedback to cancel.
To cancel within the seven days, try to sign in. The sign-in page shows a Cancel account deletion link. Follow it and confirm your email and password. A deletion started by an administrator can’t be cancelled there.
Troubleshooting
Avatar upload fails
Possible cause: The file is 2 MB or larger, smaller than 400 by 400 pixels, or not square.
Solution: Resize or crop the image and upload it again.
”Please wait before resending the verification email”
Possible cause: You resent the email change verification recently.
Solution: Wait until the resend button shows it’s available again.
Notifications never appear
Possible cause: Your browser blocks notifications for FluentChat, or the online or offline switch for your current status is off.
Solution: Allow notifications in your browser’s site settings, check both switches, and select Send Test.