

WordPress integration
The WordPress integration connects one WordPress site to a bot through the FluentChat connector plugin. Use it to place website channels on WordPress pages, recognize signed-in customers, show customer details to agents, and run FluentBooking and FluentCart actions.
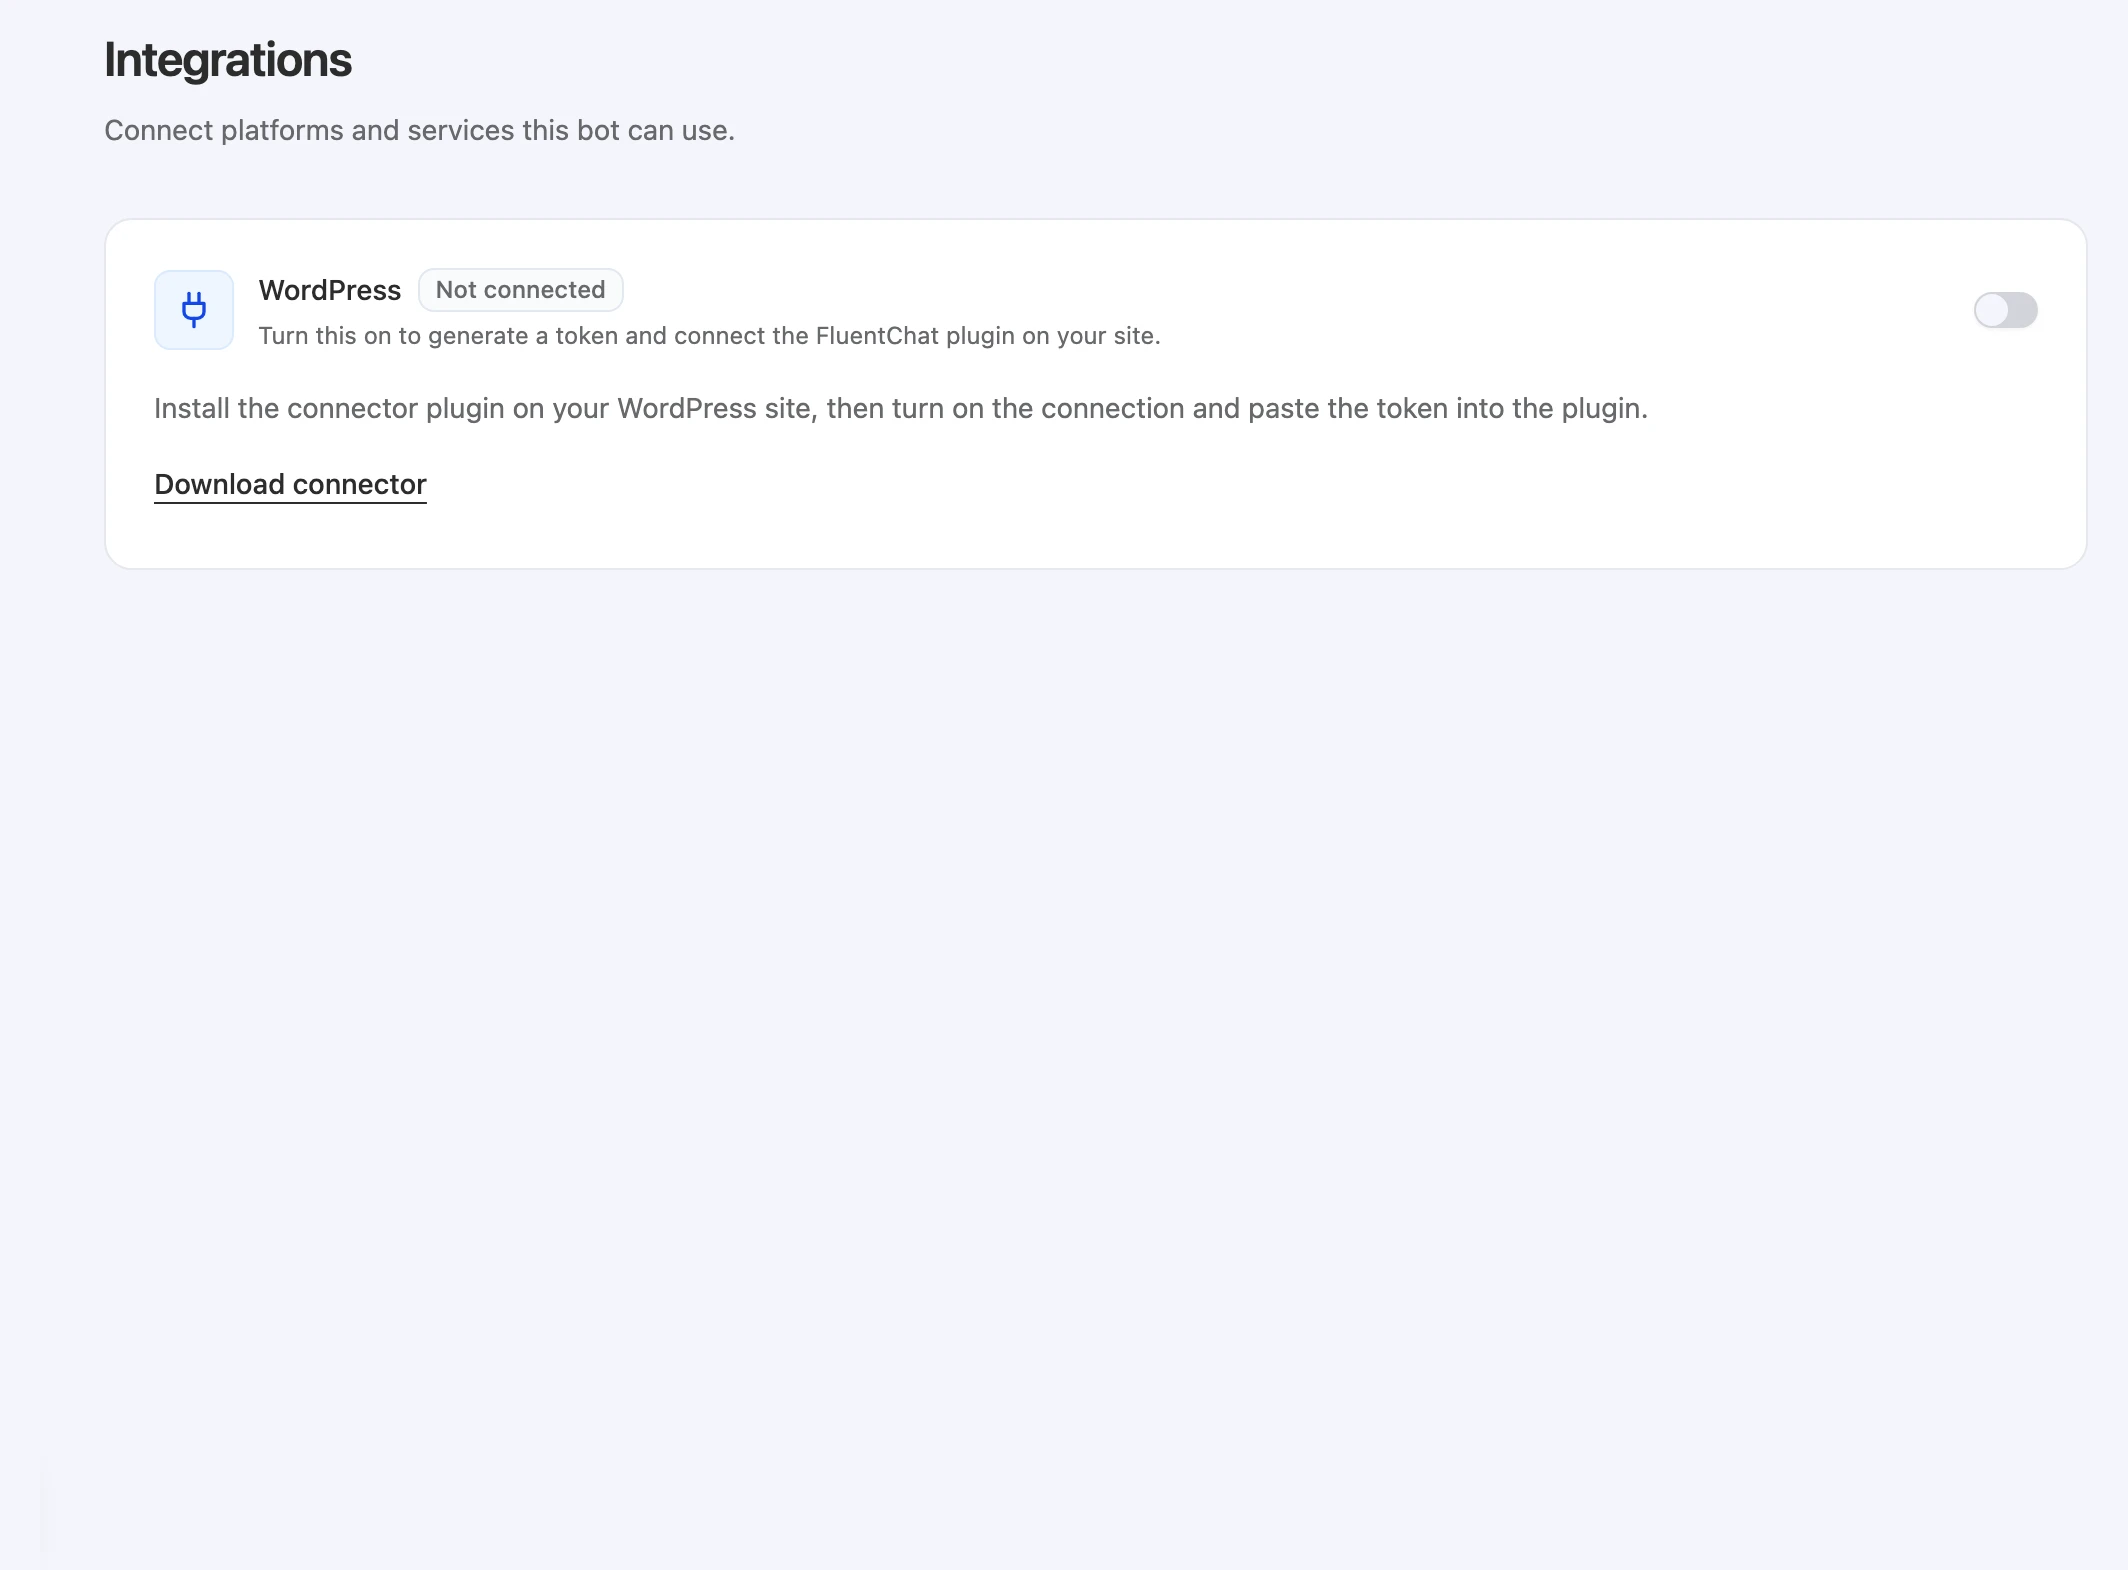
Open Bot > Integrations. The WordPress card shows the connection status, a switch, and connection details. Selecting Open WordPress integration elsewhere in the app opens the bot’s full WordPress page.
Before you start
- You need bot edit access to turn the connection on, regenerate its token, or disconnect it: Owner, Team Admin, or Bot Admin. Other roles can view the status but can’t change it.
- You need administrator access to the WordPress site so you can install a plugin.
- “Your WordPress site must be publicly reachable over HTTPS.”
What the integration provides
| Capability | What it does | Learn more |
|---|---|---|
| Website channels on WordPress | Places the Chat bubble, Center stage, or Help page on your WordPress pages. | Add chat to your website |
| Signed-in customers | Lets the bot recognize customers who are signed in to WordPress. | WordPress customer context |
| Customer details for agents | Shows matching WordPress customer details in the Live chat inbox. | WordPress customer context |
| WordPress actions | Required to create, enable, or run FluentBooking and FluentCart actions. | Actions |
| Fluent Support channel | Lets the connector verify a Fluent Support channel credential for this site. | Fluent Support channel |
Connecting WordPress doesn’t add your site’s content to the bot’s knowledge. To answer from your pages, add the site as a source. See Source types.
Connect your WordPress site
-
Download the connector. In Bot > Integrations, select Download connector on the WordPress card. In WordPress, upload and activate the plugin.
-
Turn on the connection. Turn on the Toggle WordPress connection switch. The first time you turn it on, FluentChat creates a connection token. “Copy this token now — it will not be shown again.”
-
Paste the token into the plugin. In your WordPress admin, open FluentChat > Settings, paste the token, and save. The card shows Awaiting plugin until the site connects, then changes to Connected on its own.
-
Choose what to share (optional). For WordPress actions, choose the products, events, and permissions to share under FluentChat > Integrations in WordPress.
-
Place your channels. Turn on the channels you want in Bot > Channels, then choose where they appear in WordPress. See Place channels on WordPress pages.
The bot Dashboard shows the same path under Add to Your Website > Use on a WordPress site: download the FluentChat plugin, generate a connection token with Open WordPress integration, and paste the token into the plugin’s settings.
Place channels on WordPress pages
After the site connects, you choose placement in WordPress. The bot’s WordPress page describes the options: “In WordPress, choose whether Chat Bubble and Center Stage appear on all pages or selected pages, or add them manually with a block or shortcode. Add Help Page to a page with its block or shortcode. Preview a channel before enabling it on your site.”
A channel placed on WordPress still follows its availability in Bot > Channels. If the channel is disabled there, it doesn’t load on your site.
Connection statuses
| Status | What it means |
|---|---|
| Not connected | No token exists yet. “Turn this on to generate a token and connect the FluentChat plugin on your site.” |
| Awaiting plugin | A token exists, but the plugin hasn’t connected. “Waiting for the plugin to connect. Paste the token into the FluentChat connector plugin on your WordPress site.” |
| Connected | The site is connected. “Your WordPress site is connected for this bot’s channels and actions.” |
| Unreachable | ”The connector could not be reached or verified. Check your site and try again.” Select Check again to retry. |
| Disabled | The connection is turned off. Its token and site registration are kept. |
When you open the card for a connected site, FluentChat checks the connection. It sends a signed test request to the connector that reads no customer data, and records the result as Last checked.
Manage the connection
Select the WordPress card to expand its details. They show the connected site, Last sync, Last checked, and any recent error.
| Control | What it does |
|---|---|
| Toggle WordPress connection | Turns the connection off or on. Turning it off pauses the integration without deleting it. Turning it back on doesn’t need a new token. |
| Regenerate token | Creates a new token. “This invalidates the current token and WordPress chat sessions immediately. Paste the new token into the FluentChat connector plugin on your WordPress site to reconnect.” |
| Disconnect | Deletes the connection and its token. To connect again, turn the connection back on and paste the new token into the plugin. |
While the connection is Disabled:
- Customer details aren’t fetched for agents.
- Website channels that load through the connection are refused.
- FluentBooking and FluentCart actions can’t run.
Limitations
- Each bot has one WordPress connection. To connect another site, use another bot.
- The token is shown only once. If you lose it before pasting it, select Regenerate token.
- A token belongs to the first site that uses it. To move the connection to another site, regenerate the token.
- The site must be publicly reachable over HTTPS. Sites on a private network or plain HTTP can’t connect.
Troubleshooting
The card stays on Awaiting plugin
Possible cause: The token wasn’t pasted into the connector, an older token was pasted after you regenerated it, or the site isn’t reachable over HTTPS.
Solution: Select Regenerate token, paste the new token into the connector’s settings, and save. Check that your site loads over HTTPS from the public internet.
The connector could not be reached or verified. Check your site and try again.
Possible cause: The site is offline, the connector plugin is inactive, or something on the site blocks FluentChat’s request.
Solution: Check that the site is online and the plugin is active, then select Check again. If you regenerated the token, paste the new one into the plugin.
Enable the existing WordPress connection before adding this channel.
Possible cause: The connection is turned off.
Solution: In Bot > Integrations, turn on the Toggle WordPress connection switch. Your existing token keeps working.
Ask a team admin to generate the token.
Possible cause: Your role can’t change the WordPress connection.
Solution: Ask an Owner, Team Admin, or Bot Admin to turn on the connection and give you the token.